

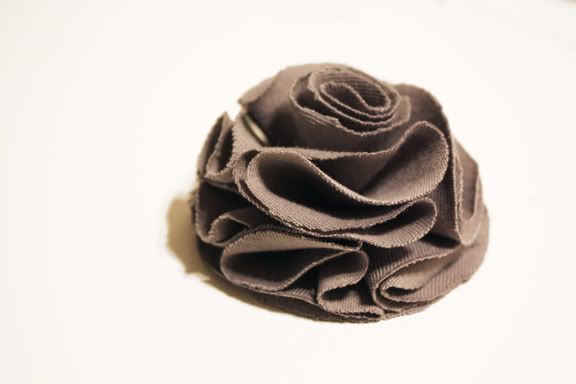
These are beautiful fabric flowers that even the least craft-adept person can manage. You just need to know how to work a thread and needle and you'll be on your way to sticking these babies everywhere: headbands, sashes, bobby pins, centerpieces, you name it! Thanks projectwedding.com for the idea.
Materials:
Fabric (anything works – from silk organza to your old bedsheets)
Needle
Thread (in a color that matches the fabric)
Large circular object (for tracing around)
Medium circular object(about ¼” – ½” smaller in diameter)
Small circular object (about 1” in diameter)
Scissors
Process:
1. Trace the large circular object onto your fabric 9 times.
2. Trace the medium circular object onto your fabric 1 time.
3. Trace the small circular object onto your fabric 1 time.
4. Cut out all 11 circles.
5. Set small and medium circles aside. Take a large circle and fold it into quarters.
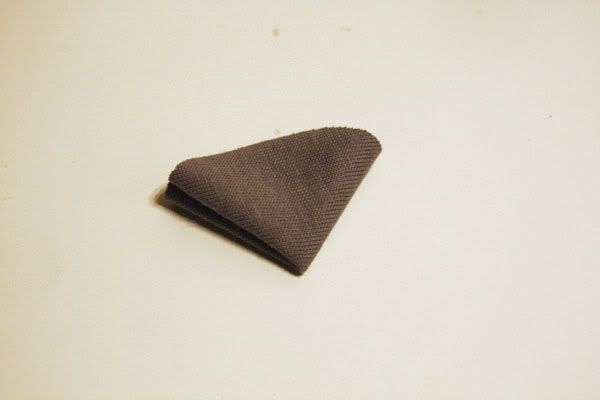
6. Place this quarter on top of another large circle.
7. Using a needle and thread, sew the tip of the fabric quarter onto the flat circle. Make sure you sew through all the layers.
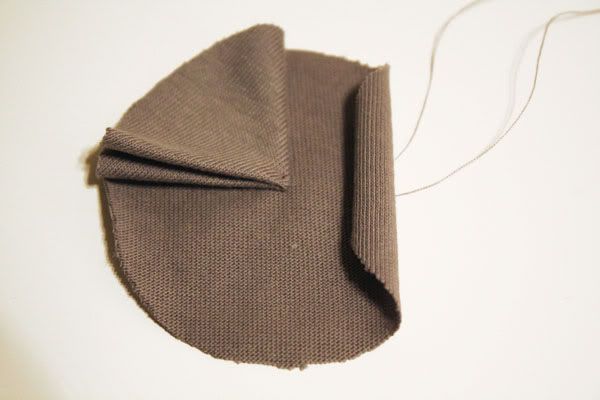
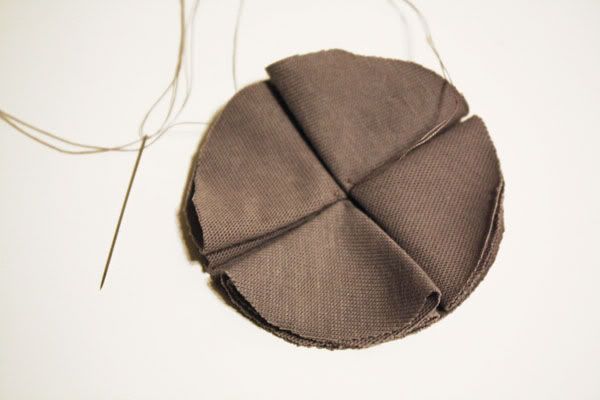
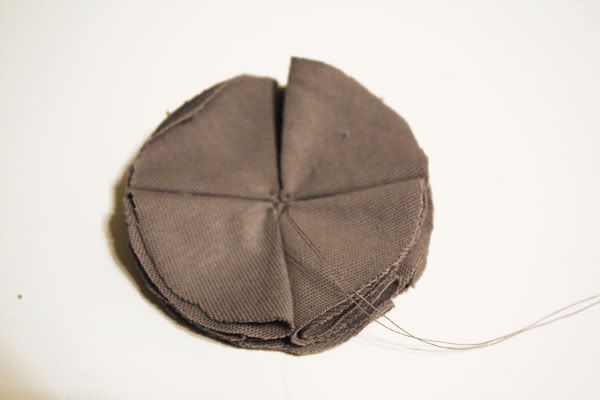
8. Take 3 more large circles, fold them into quarters, and continue to lay them out onto the circle. To keep the flower perfectly balanced and proportional, make sure all the openings face the same direction. Sew each quarter as you lay it down. After all 4 quarters have been laid out and sewn, sew a couple times between the quarters to connect them together.
9. Fold another large circle into quarters. Place this directly on top of another quarter on the bottom layer, and angle it 90 degrees. Again, make sure the opening faces the same direction as the quarters on the bottom layer.
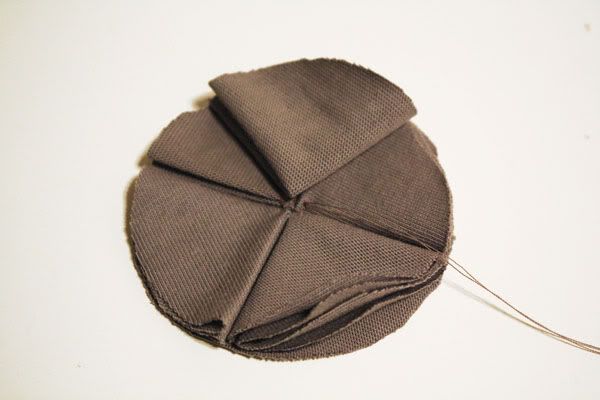
10. Sew the quarter onto the bottom layer.
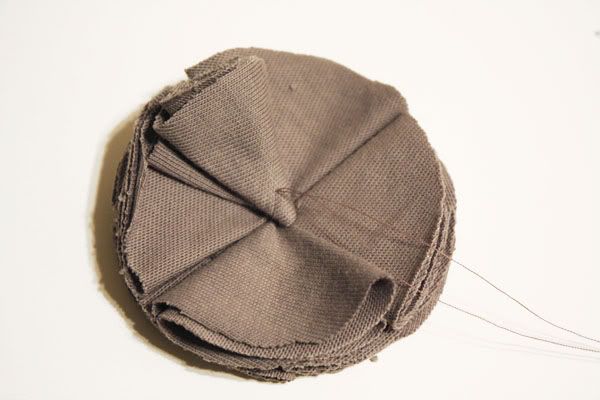
11. Repeat this using 3 more of the large circles. This should form an entire top layer.
12. After the top layer has been completed, remember to sew between the quarters again.
13. Take the medium circle now and fold it in half.

14. Roll it up into a cone shape.
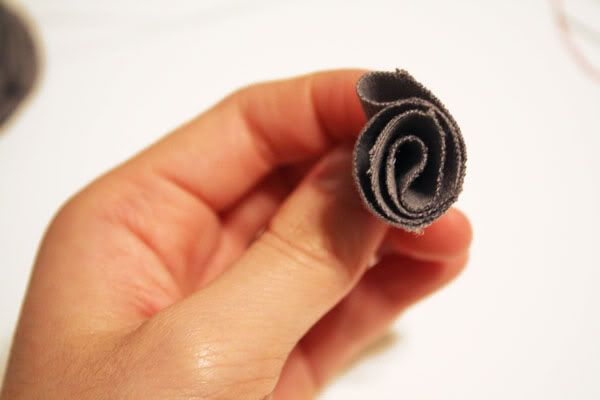
15. Place it flat against the top layer with the tip pointing toward the center. Sew the very tip into place. It should be able to stand upright when you are done.
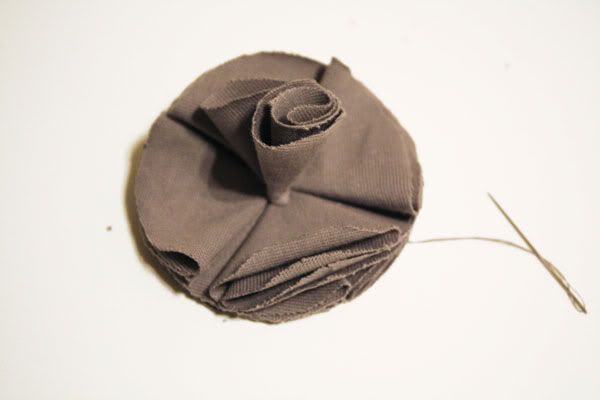
16. Flip the flower over. Take the smallest circle fabric and sew it onto the back to cover up your stitches. If you are attaching a hair clip or headband to the flower, put it between the flower and the small circle fabric. Sew the circle into place with the hair clip headband sandwiched inside it.
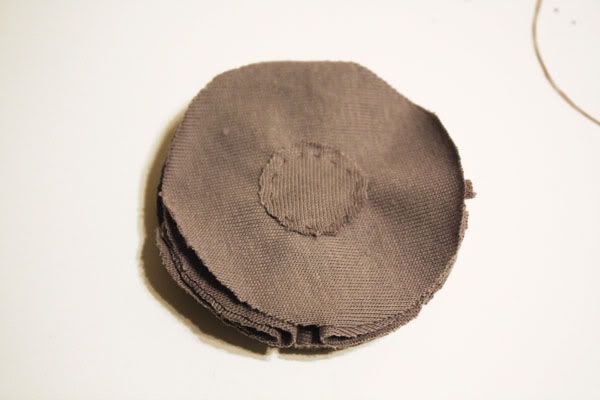
17. Flip the flower over again and fluff it up!

3 comments:
I think I might try incorporating these flowers into my boutonnieres!
Great idea! I didn't even think about using them for boutonnieres. Let me know how they turn out..I would love to see the finished product. :)
Love these! Now thinking what could I use these for
Post a Comment